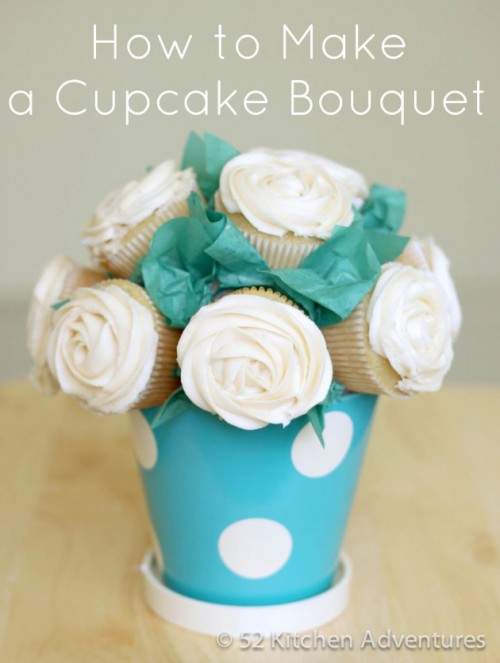
A cupcake bouquet is a fantastic idea not only for a wedding but also for bridal showers, baby showers and so one. To make one you’ll need cupcakes, frosting, a disposable piping bag or a reusable piping bag, Wilton 1M tip (or a similar open star tip), green tissue paper, clear tape, flower pot, styrofoam...
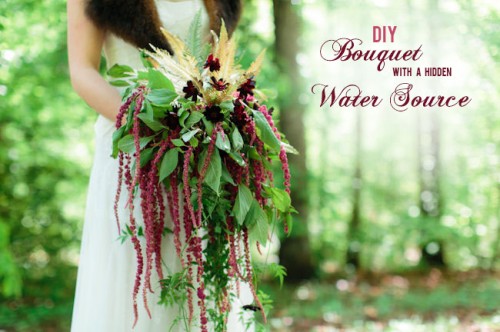
DIY Wedding Bouquet With A Hidden Water Source
If you are inspired by the Great Gatsby theme, by the golden 1920s and chic décor, you’ll love this bouquet that is perfect for such wedding décor. The supplies are gardening shears, gold spray paint, fresh floral bouquet holder, flowers of your choice, 18″ square of fabric, magnetic charm and 2 yards of rope. First,...
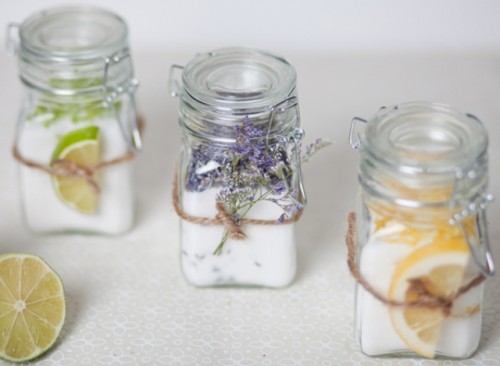
How To Make Infusing Sugar Wedding Favors
We’ve already told you about cute foodie favors, and here’s one more foodie favor that you can easily make yourself – infusing sugar! It’s great for adding to cocktails, coffee and other drinks. The supplies are sugar, citrus fruit, glass container with seal, a zest and ribbon or twine to garnish. Zest the fruit you...
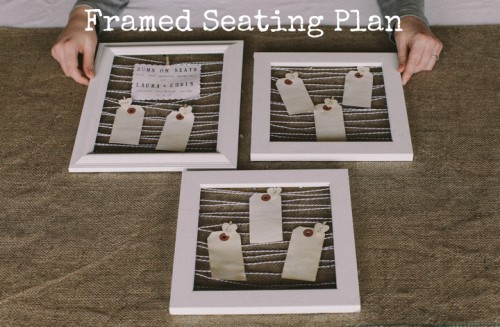
DIY Picture Frame Seating Plan
This tutorial would help you to make an effective and cute seating plan not to forget where to sit the guests. The supplies are picture frames without glass, paint and brush, string, scissors, a glue gun, luggage tags and mini pegs. Clean your frames and paint them with several coats, then criss-cross string across the...
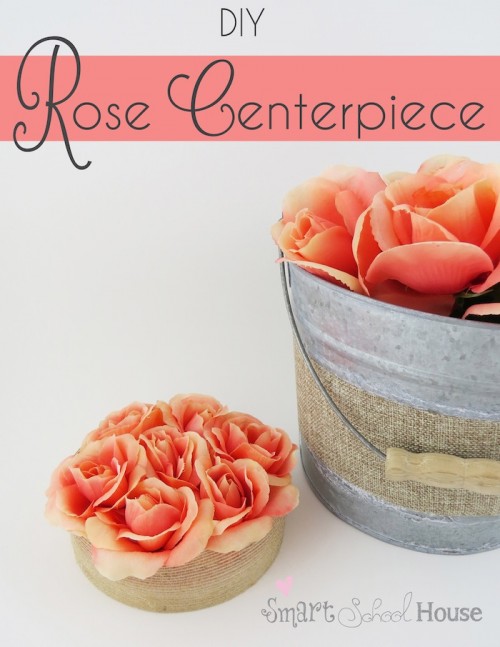
Elegant DIY Rose Centerpiece
If you are looking for some cute centerpiece for the coming wedding, this one will be great not only for a summer wedding but for any other also as roses are stylish and elegant all year round. The supplies are a bouquet of faux roses, a styrofoam cylinder about 3/4″tall, rustic burlap looking ribbon. Wrap...
DIY Custom Envelope Liner
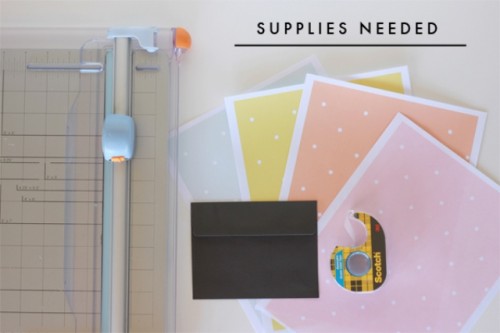
To make your wedding invitations more special, funny and cool, make an envelope liner! It’s simple, free and won’t take much time or any special skills! The supplies are simple: a paper cutter or scissors, templates, double-sided stick tape or glue stick, envelopes. Print off your template pattern and cut off the white edges. Measure...
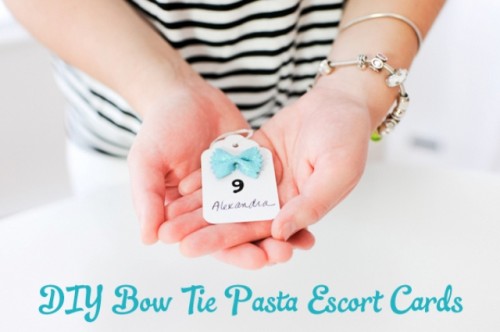
DIY Bow Tie Pasta Escort Cards
We’ve already told you of some escort cards in vintage style, now it’s time for some more super cute pieces. For these pasta cards you’ll need a box of bow tie pasta, spray paint, newspapers, small paint brushes, small plastic plates, toothpicks, glue, glitter, acrylic paints, small alpha stickers and tags. Lay out a newspaper...
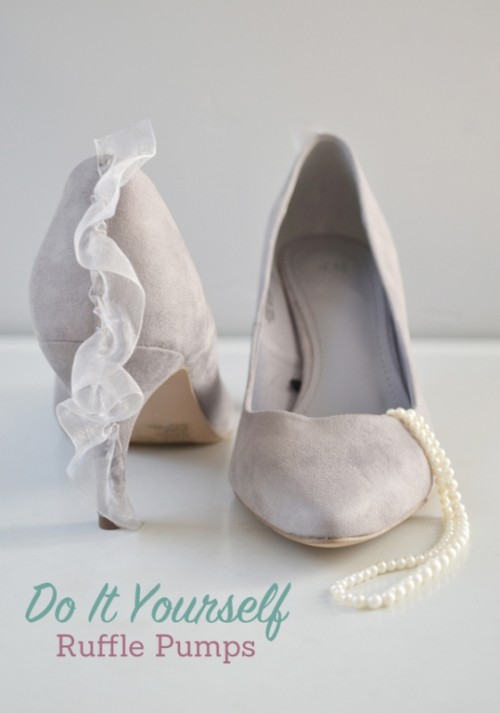
Pretty DIY Ruffle Pumps To Adorn Your Wedding Shoes
Ruffles have become one of the season’s most wearable trends. So, today’s DIY is inspired by it and suggest you a great way to spruce up a wallet-friendly pair! You’ll need a pair of pumps, ribbon, needle and thread, hot glue gun. First measure a length of ribbon that is double the length of the...
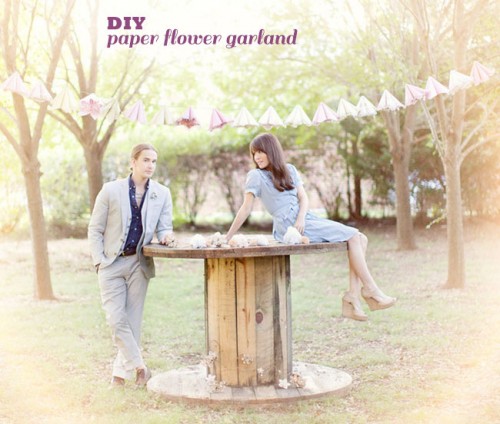
Vintage DIY Flower Garland Of Paper Doilies
Vintage accessories make any event exquisite and elegant, so let’s make this paper flower garland ourselves! The supplies are white paper doilies of varying sizes, a glue gun and glue sticks, tea or food coloring, for dyeing, thick brown floral wire. Fold doilies in half, bring both corners up to the center, making a diamond,...
DIY Super-Twisted Braid Wedding Hairstyle
If you‘re puzzling over what wedding hairstyle to choose, pay attention to this awesome tutorial. To get this super-twisted look you need to start off by separating out the front sections of hair on both sides of your head. Then take the back of your hair and separate it into two sections, one on top...
