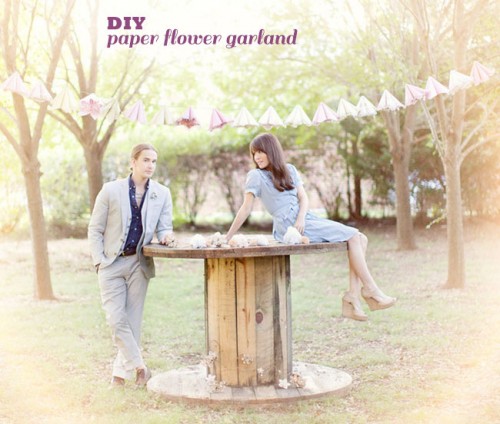
Vintage accessories make any event exquisite and elegant, so let’s make this paper flower garland ourselves! The supplies are white paper doilies of varying sizes, a glue gun and glue sticks, tea or food coloring, for dyeing, thick brown floral wire. Fold doilies in half, bring both corners up to the center, making a diamond,...
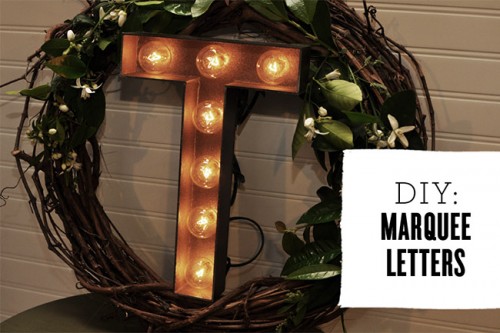
DIY Marquee Letters For Wedding Decor
Lights always attract attention! That’s why marquee letters are a great decoration for a reception or dessert table or hang them in the place where you are going to celebrate the big day. To make these letters you’ll need Room Essentials Globe String Lights, paper mache letter, a drill, spray paint. Decide where you want...
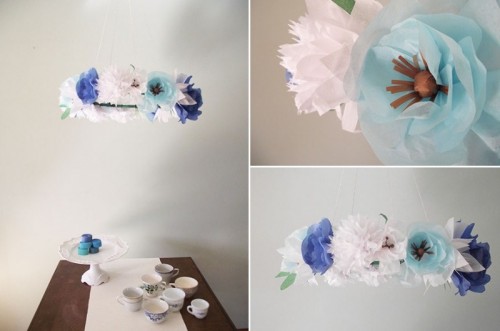
DIY Floral Mobile For Your Bridal Shower Decor
If you planning a bridal shower and don’t know how to decorate the space better, here’s a floral mobile tutorial for a dining table or a dessert table decor. You’ll need tissue paper, screen crepe paper, floral tape, scotch tape, embroidery hoop, cotton twine, wire, wire cutters, scissors, and fringe scissors. First make lilies cutting...
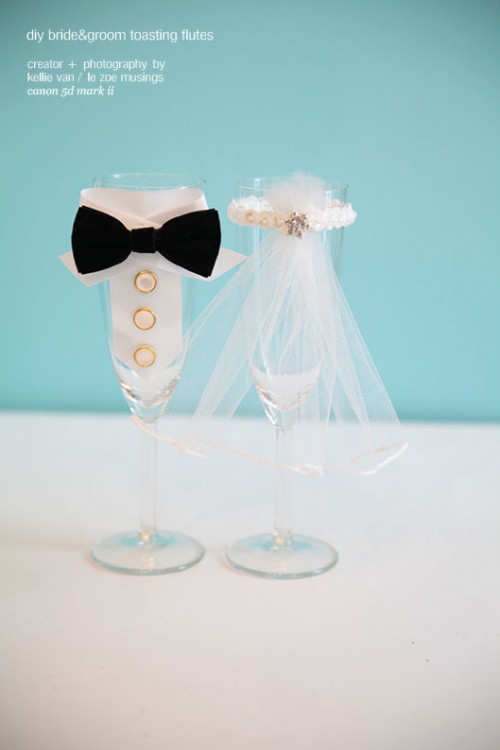
DIY Bride And Groom Toasting Flutes
Let’s make a cool toasting flutes pair dressed like a bride and a groom – for your own wedding or for as a wedding gift. The supplies for a groom flute are wide ribbon, narrow ribbon, black velvet ribbon, buttons, a toasting flute. For a bride flute you’ll need: some tulle, white decorative ribbon, an...
DIY Blue Flower Shoe Pins
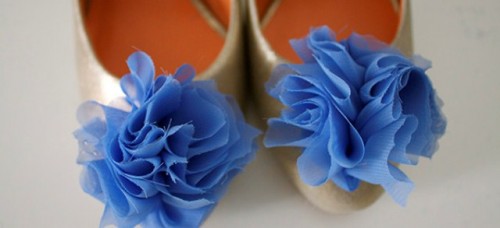
If you remember, every bride should wear something blue, and we suggest decorating your shoes or flats with these pretty flower shoe pins of contrasting blue color. The supplies are chiffon or tulle material of blue color, a needle and thread, material scissors, hairpins. Cut two pieces of the material seven times longer than the...
DIY Driftwood Candelabra For A Rustic Wedding
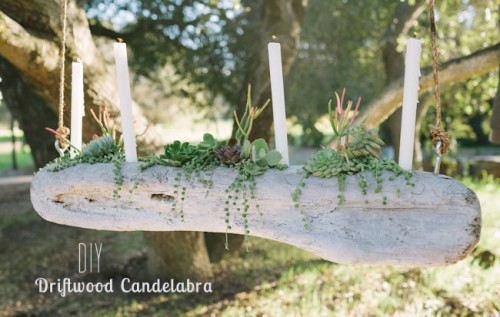
Let’s make a cool piece for any rustic wedding – driftwood candelabra. You’ll need driftwood, a drill, spade bit + drill bit set, candlesticks, succulents of your choice, 2 large eye hooks, rope and a lighter. Decide where you want to place your succulents in the driftwood and using your drill make holes for succulents...
Cute DIY Paper Flower Arch
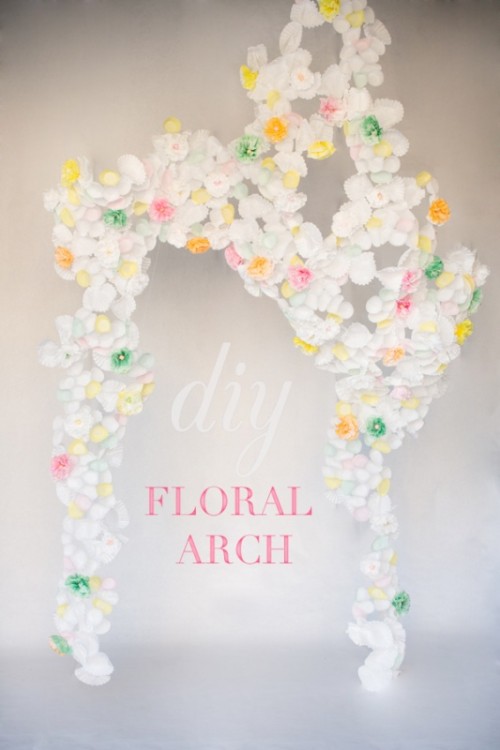
Floral patterns and fancies are among top wedding and fashion trends right now. So, if you’re about to get married this spring or summer you should think about their inclusion. How about this cute paper flower arch? To make one you’ll need: coffee filters, tissue paper (cut in approximately 5×5 squares), scissors and stapler. Start...
DIY Wedding Wax Paper Lanterns
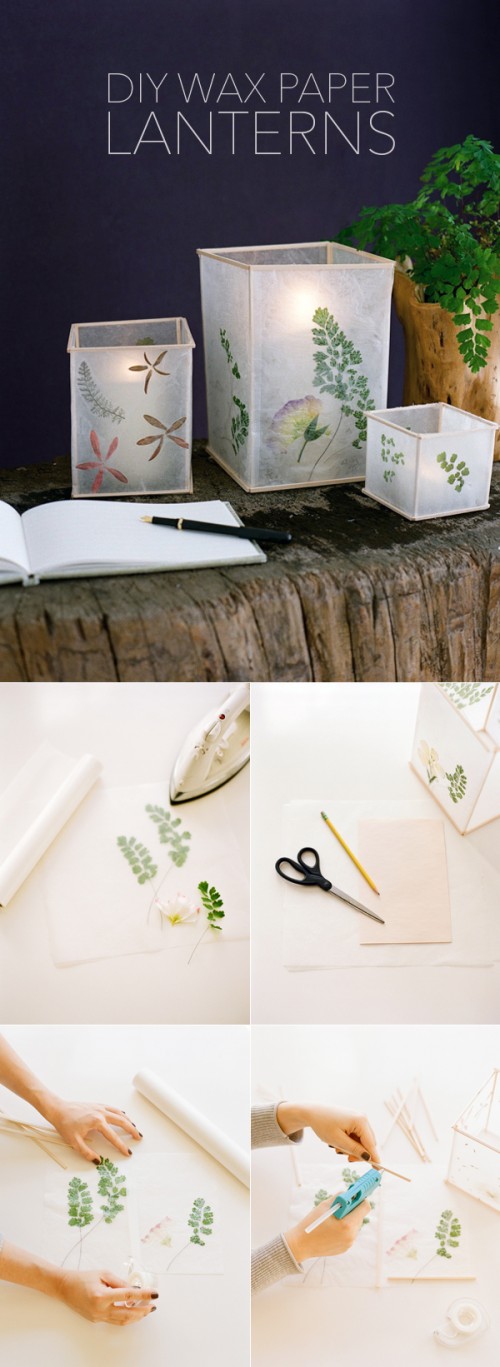
If you are planning a rustic wedding or a beach one, you’ll be inspired by these weddingwax paper lanterns that would look perfect on any table and in the structure of the centerpiece. The supplies are foliage or petals, wax paper, washi or scotch tape, balsa wood sticks for. Start ironing some foliage or petals...
60’s Rock-n-Roll Wedding Inspiration
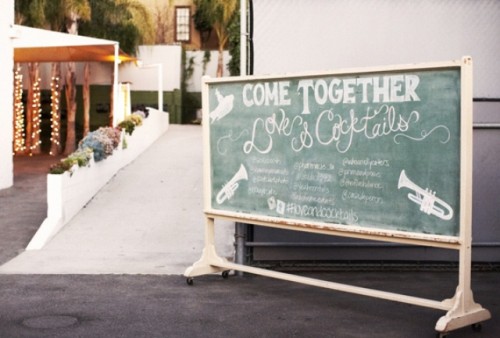
I love rock’n’roll! Do you? Have a look at this wedding inspiration and if even if you don’t, you’ll love it! Vinyl, gilded tableware, the Beatles music, colorful vintage furniture and some more pieces of that kind would do. Use disks and decorated musical instruments for design – you can even make a crazy table...
DIY Photo Lantern For Reception Tables
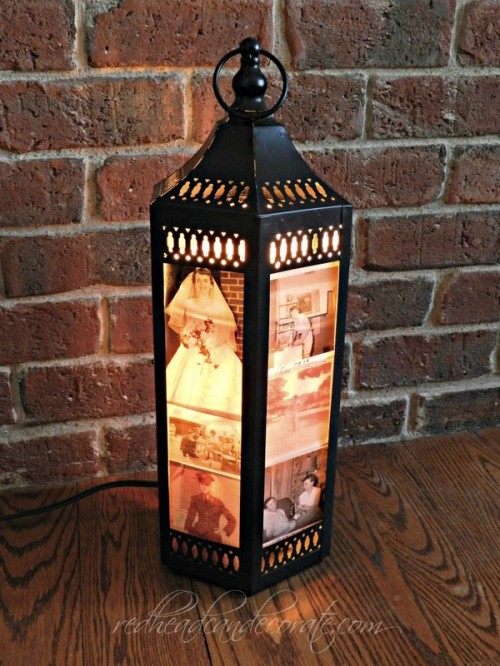
This DIY is an amazing idea for a reception table or even for a romantic dinner for two – it’s a photo lantern. All you need is just a small lamp with removable shade, tape, a vintage light bulb, and photos. Just open your lantern, tape the photos to the inside of the glass, light...
